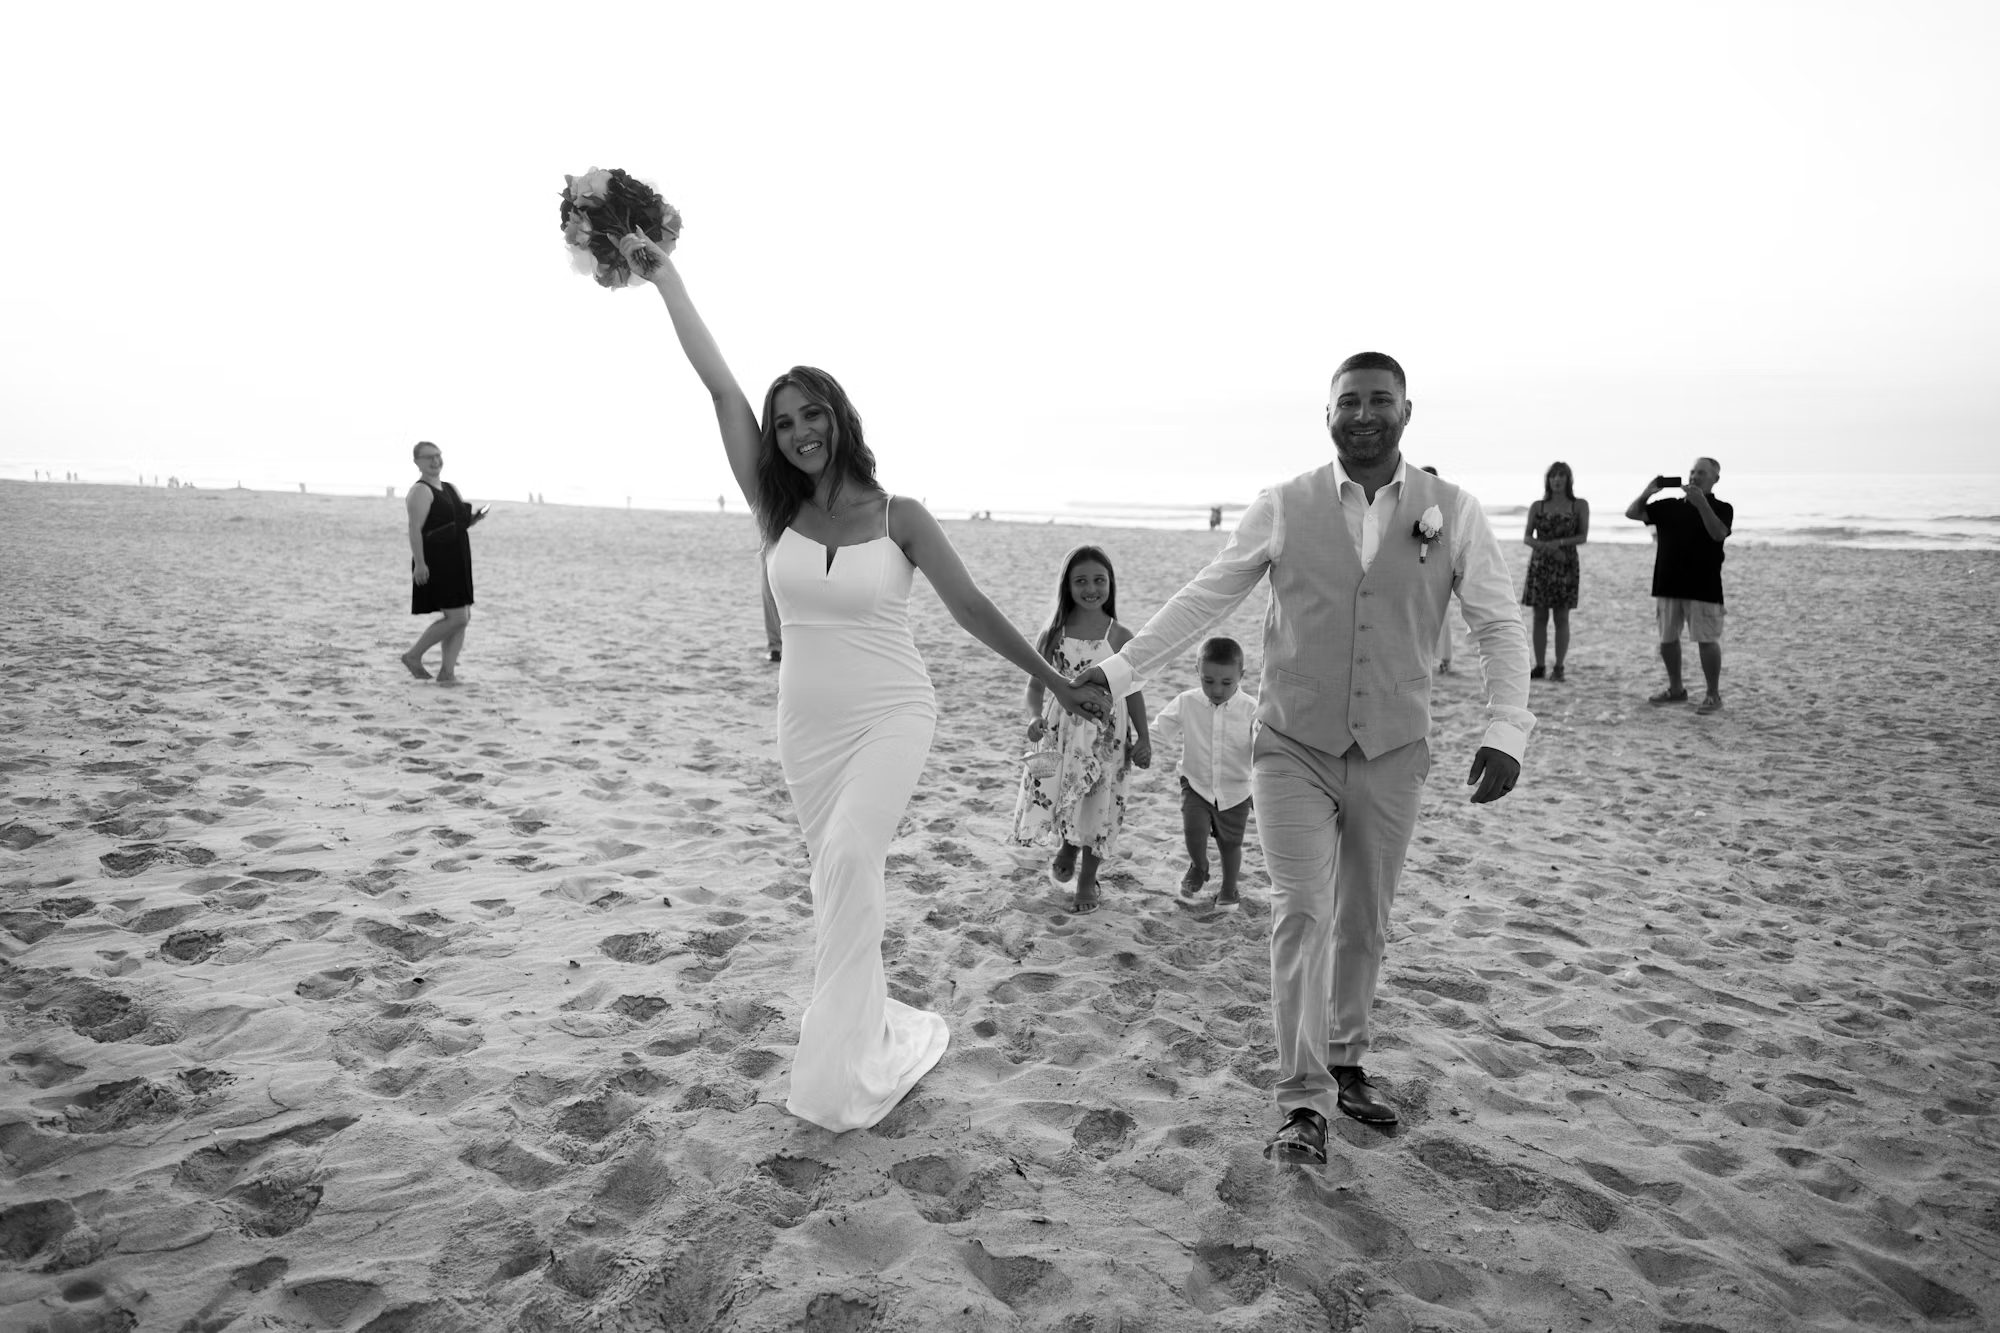
Planning a wedding involves many moving parts, and one of the most crucial elements for a successful event is a well-crafted timeline. A wedding timeline helps organize everything from the ceremony to the reception, ensuring that the day flows smoothly and that everyone knows their roles. In this guide, we will explore how to create a comprehensive wedding timeline that will keep your day stress-free and enjoyable.
Understanding the Importance of a Wedding Timeline
A wedding timeline serves as a roadmap for your day, detailing every significant event and the timing for each one. By having a timeline, you minimize the risk of running late, forgetting important details, or overlooking key moments. This organization allows you to enjoy your day, focusing on your celebration rather than worrying about the clock.
Key Benefits of a Wedding Timeline
1. Clarity: Everyone involved, from the bridal party to vendors, will know when and where they need to be.
2. Time Management: Keeping track of time helps ensure that events like the ceremony and speeches occur as planned.
3. Reduced Stress: With a clear plan in place, you can enjoy your wedding day without the added anxiety of logistics.
Creating Your Wedding Timeline
Step 1: Start with the Ceremony
The first step in creating your wedding timeline is to outline the ceremony. Consider the following:
– Ceremony Start Time: Decide when you want your ceremony to begin. Consider the time of year and daylight hours, especially for outdoor weddings.
– Duration: Typically, a ceremony lasts about 30 minutes, but this can vary based on personal preferences and traditions.
– Arrival Time: Factor in the time it takes for guests to arrive. Aim for guests to be seated at least 15 minutes before the ceremony starts.
Sample Ceremony Timeline
– 3:30 PM: Guests begin to arrive.
– 3:45 PM: Pre-ceremony music starts.
– 4:00 PM: Ceremony begins.
– 4:30 PM: Ceremony concludes.
Step 2: Include Pre-Ceremony Activities
In addition to the ceremony, you’ll want to account for pre-ceremony activities, especially for the bridal party. Here are a few key elements:
– Getting Ready: Allocate time for hair, makeup, and dressing. Depending on the size of your bridal party, this can take several hours.
– First Look: If you choose to have a first look moment, schedule it prior to the ceremony to capture beautiful photos in a relaxed setting.
– Travel Time: Don’t forget to factor in travel time to the venue for both the bridal party and guests.
Sample Pre-Ceremony Timeline
– 10:00 AM: Bride and bridal party begin getting ready.
– 12:00 PM: Photographer arrives for getting ready photos.
– 2:00 PM: First look session.
– 2:30 PM: Bridal party departs for the ceremony venue.
Step 3: Plan the Reception
Once the ceremony is done, it’s time to outline the reception. The reception is often the most extended portion of the wedding day, and having a clear timeline is vital. Consider these components:
– Cocktail Hour: This typically lasts about an hour, giving you and your partner time for post-ceremony photos while guests enjoy drinks and appetizers.
– Reception Start Time: Decide when the reception will begin and plan for your grand entrance.
– Key Moments: Schedule significant events like the first dance, toasts, cake cutting, and bouquet toss.
Sample Reception Timeline
– 5:00 PM: Cocktail hour begins.
– 6:00 PM: Reception starts with grand entrance.
– 6:15 PM: First dance.
– 6:30 PM: Welcome speech.
– 7:00 PM: Dinner service begins.
– 8:00 PM: Toasts and speeches.
– 9:00 PM: Cake cutting.
– 10:00 PM: Bouquet toss and garter toss.
– 11:00 PM: Dancing starts.
Step 4: Allocate Buffer Time
It’s essential to include buffer time in your timeline. This extra time can help accommodate any delays and ensure that your day stays on track. Aim for at least 15 to 30 minutes between significant events, especially if they require transitions, such as moving from the ceremony to the reception.
Finalizing Your Timeline
Once you have a draft timeline, review it with your partner, family, and any key members of the bridal party. It’s essential to ensure that everyone is on the same page and comfortable with their roles and responsibilities throughout the day.
Sharing Your Timeline
After finalizing your timeline, share it with your vendors, bridal party, and immediate family. Provide copies to everyone involved in the wedding day to ensure smooth coordination. You may also consider designating a point person, such as a trusted friend or family member, who can help keep everyone on schedule.
Tips for a Smooth Wedding Day
1. Stay Flexible: While it’s essential to have a timeline, things may not always go as planned. Be prepared to adapt if necessary.
2. Communicate Clearly: Keep lines of communication open among all parties involved to address any concerns or questions.
3. Enjoy the Moment: Remember that your wedding day is a celebration of love. Focus on enjoying each moment rather than fixating on the clock.
Conclusion
Crafting a detailed wedding timeline is crucial for ensuring a smooth and enjoyable day. By carefully planning each segment, from the ceremony to the reception, you can alleviate stress and create a memorable experience for you and your guests. Embrace the joy of your special day, knowing that you’ve put in the preparation to make it a success. With a well-organized timeline in hand, you’ll be free to savor every moment of your wedding celebration.


